Thursday, April 18, 2013

Cheese Steak Sandwiches


I like kind of soft inside crusty outside bread for my cheese steaks....
Here I am with the hubs at a backyard BBQ a friend had on a nice weather day we had. 
I had a package of steak in the fridge I was going to have John do on the BBQ this afternoon.  But I had all these tomatoes I wanted to use up.  So I was thinking it might be fun to do Philly Cheese Steak Sandwiches instead. I love them and they are really, really easy to make.
Philly Cheese Steaks are really easy if you find sirloin steak on sale....

The trick is to slice the raw steak really, really thin with a sharp knife. That is kinda tedious. It is easier if the steak  is still a little bit frozen.


Slice it thin...son't forget to season it....then just fry it up in a frying pan...and when it is almost done add the slices of provolone cheese so it has a minute to melt on top. I fry the onions and peppers in a separate pan and add them back in right before the cheese is layered on top. 

These tomatoes and the big onion are straight from my garden!
I sliced the steak really thin on the cutting board and seasoned it with Montreal Steak Seasoning. Then I fried it up in a fry pan with a little olive oil. I fried the onions and green pepper slices  in butter and olive oil with a shake of garlic salt until they looked caramelized and soft. You can also add mushrooms.

Coarsely chopped onions

I didn't have green pepper but it is much better WITH it. Sometimes I add mushrooms if I have any.  

But you can just do onions too. They are great on Philly Cheese Steaks! 

I just buy a big loaf of french bread for the Philly Cheese Steaks or you can get day old
bread at Jimmy Johns and freeze it for use later. Their bread is great for sandwiches! 
Then when both were about done I put them in a pan and added the provolone cheese, just like 6 slices all around the top of the meat and onion mixture.  Then I got my french bread ready. The sandwiches really are better the more cheese you add...I know that's not very healthy, but it is the truth.


Now don't those Cheese Steaks look super yumm?

I really like fresh tomatoes on mine....my hubs loves mushrooms. I wished I had some! 

You could add sauteed green peppers to this sandwich too and sliced tomatoes like we like it. That is just personal preference. But you could just go with the steak and cheese and onions on your rolls.


I don't think these are low calorie...but they are so delish!  Just try not to think about it.....

I always look for some steak on sale and this meal is really yummy but very inexpensive too.
Here's our Tuesday night Cheese Steaks!  I made some strawberry shortcake too. I had to do
something with all my frozen strawberries I've been keeping!
Philly Cheese Steak Sandwiches....yummy and easy! 

They take literally 10 minutes! 
Next time you are at the market get a small steak and try making your own. You will love them.

Tuesday, April 16, 2013

Broiled Pecan Crusted Salmon

Here is one of my very favorite dinners, baked Pecan Crusted Salmon! 

My favorite way to make salmon I found at a favorite recipe site of mine called all recipes.com called Baked Dijon Salmon. It has bread crumbs, honey and mustard, and chopped pecans. It is wonderful!

Isn't this Pecan Crusted Salmon just tempting looking? 

I start by mixing up the bread crumbs with chopped pecans, a little mustard and honey mixed in...
 Here is my adapted recipe:

Ingredients

  • 1/4 cup butter, melted
  • 2 1/2  tablespoons Dijon mustard
  • 1 1/2 tablespoons honey
  • 1/4 cup dry bread crumbs
  • 1/4 cup finely chopped pecans
  • 4 (4 ounce) fillets salmon
  • Lemon Pepper a few shakes
  • Lawry's Season Salt a shake

Directions

  1. Preheat oven to 400 degrees
  2. In a small bowl, stir together butter, mustard, and honey. Set aside. In another bowl, mix together bread crumbs, pecans
  3. Shake season salt and lemon pepper on each fillet lightly, then  brush with honey mustard mixture, and sprinkle the tops of the fillets with the bread crumb mixture.
  4. Bake salmon 12 to 15 minutes in the preheated oven, or until it flakes easily with a fork.

Then I spread them on salmon fillets and bake....DON'T BROIL! 

I added some salad with fresh tomatoes 

And a side of fresh fruits...
And here it is!  Pecan Crusted Salmon!  


And garlic parsley red potatoes....yummy dinner!
 I love salmon fillets from Costco, individually wrapped. They are so easy and economical. And they always taste fresh. I am never disappointed. And the salmon is so delish. This is a favorite dinner of mine.


 And I had to make a yummy dessert to go with it. I love this chocolate cake with peanut butter icing. If you want my recipe and how I make this devilish dessert link HERE
Don't you want a bite? You know you do!  Yummy........

Thursday, April 11, 2013

Bloomin' Onion Copycat FAIL!


Right here is How to Cut  an onion for battering and frying into one of those delectable Awesome Blossoms that I have had a craving for today. They are sometimes called Bloomin' Onions. I'm going to try to copycat Chilis or Outback.

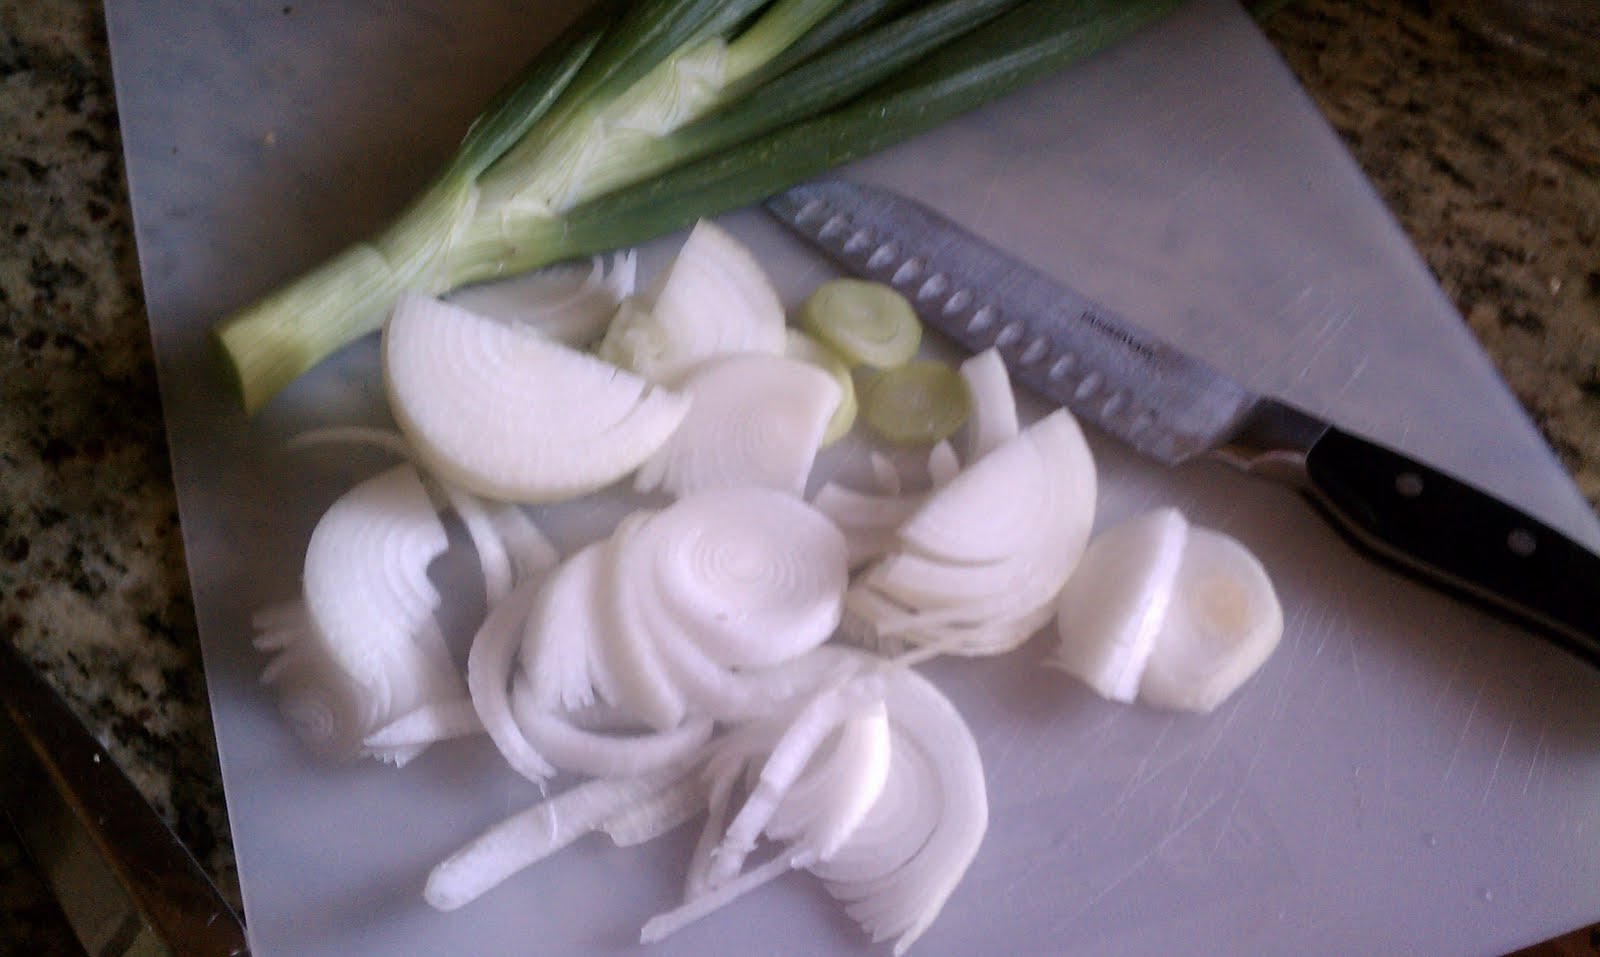
 I think I need to make one bad! So I bought a Vidalia Sweet Onion as big as I could find. 
I read somewhere that you need to put the onion in ice water after cutting and dividing into twelve sections. I tried it. But I think it made the batter not adhere. I think maybe I should have dusted it first with flour.
Anyway, the batter is easy enough. But I'd would dust with flour first, then the egg batter, then with the flour mixture third. That way you have a nice coating.
I have tried making these Bloomin' Onions twice, but both times it was a massive FAIL!
It's already coming apart. I guess I cut too close to the bottom or something. 
Dust, dip and dust again......
It started out so good, right? But now it is all starting to come apart. I hate when that happens. So by the time I had placed this onion into the hot grease, it was quite the mess.I bet the restaurants have some kind of holder for them like those fish holders on a BBQ so pieces don't get lost in hot oil.

I realized at this point it was going to be a messy Bloomin' Onion. My grease also wasn't deep enough to fry the whole giant onion. I tried cutting it into halves and doing one half at a time. No go.  It was a sloppy mess. It is too embarrasing to even show!
                                       
MASSIVE FAIL ..... it wasn't pretty....
but it WAS tasty! 
DIRECTIONS:
1 Vidalia Onion (slice it for onion rings thick) Dust with flour mixture, then buttermilk mixture, then flour mixture again. Let sit for a minute in the flour mixture. Then drop in hot oil on the frying pan for about 2 minutes per side. Put on a paper towel. Use 1/2 Greek yogurt and 1/2 buttermilk ranch dressing mixed in a bowl for dipping sauce. Yummy!


So I started over! Yes, now it is going to be plain onion rings.

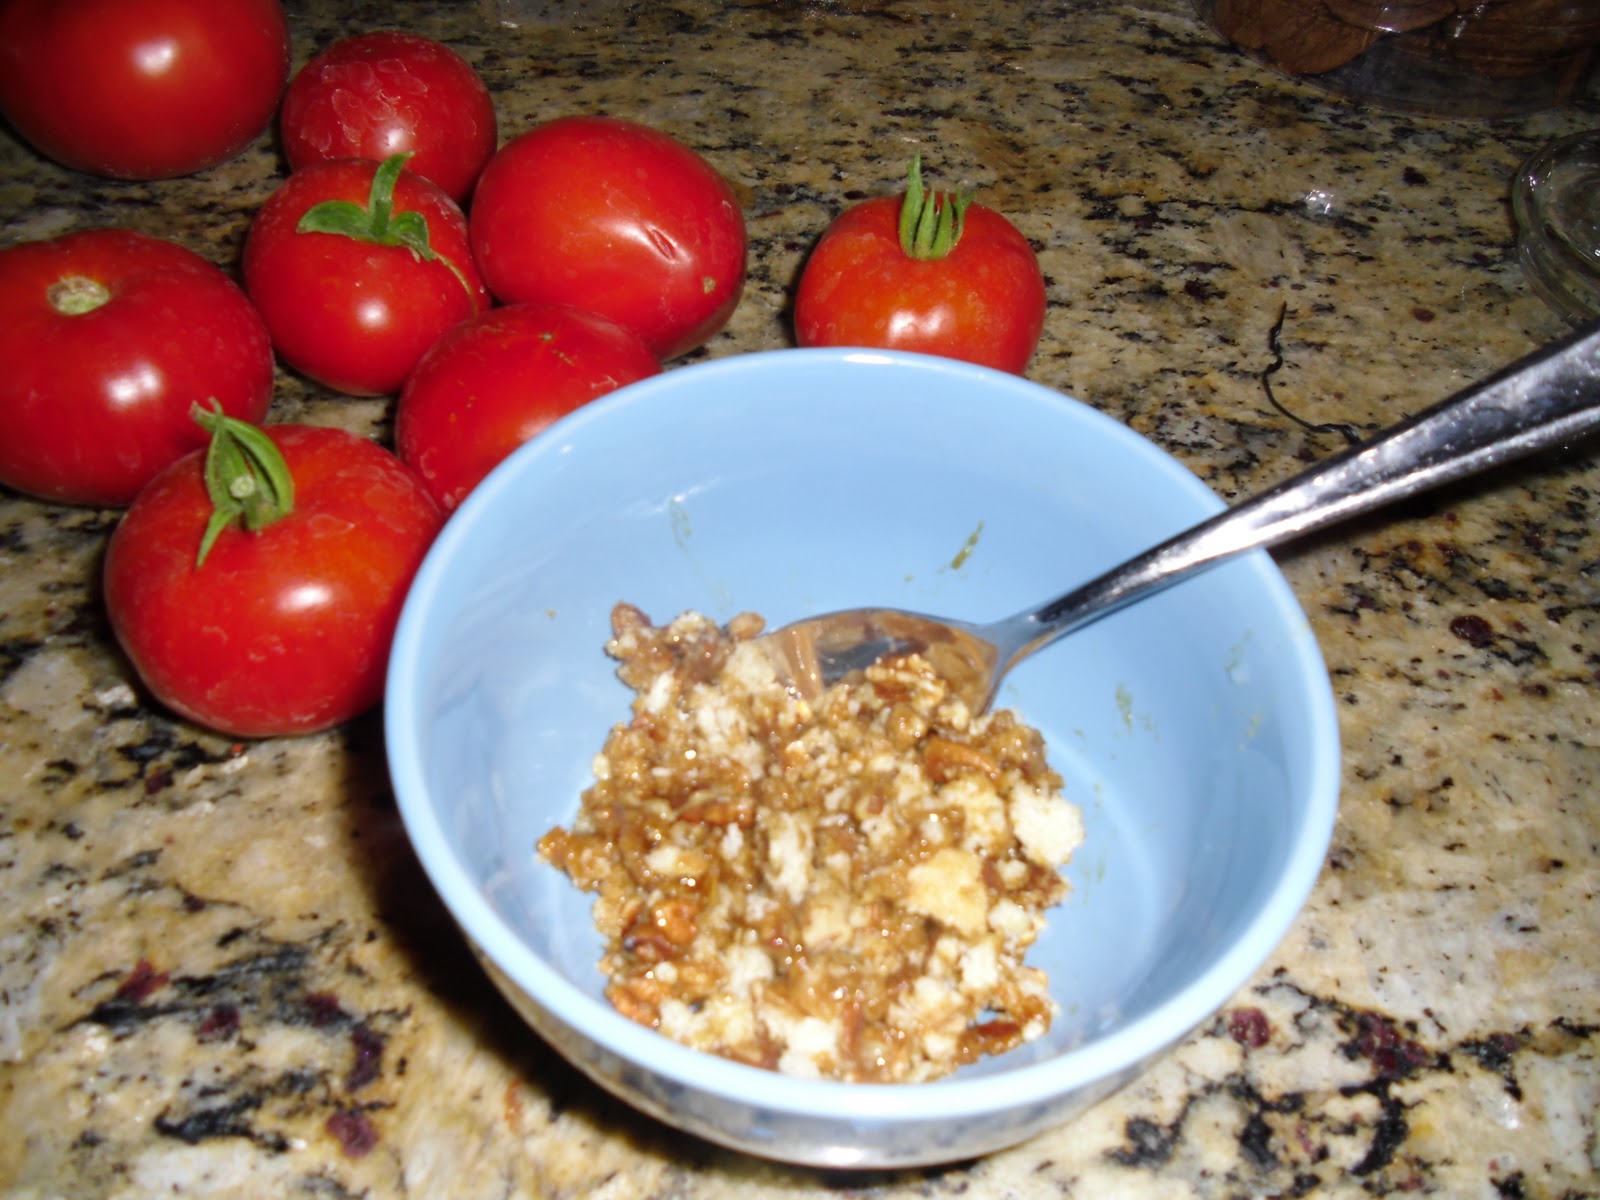
Buttermilk mixture: 1 cup buttermilk mixed with 1 egg
  Flour Mixture: 1 1/2 cups of flour,  1 teaspoons Lawry's Seasoning Salt, 1/4 teaspoon paprika,
 1/4 teaspoon pepper, a shake of garlic salt. Mix up.

Dip mix: 1/2 Ranch dressing mixed with 1/2 Greek yogurt. 
Did the dipping and coating just the same, with the same recipe.

For Bloomin' Onion or Awesome Blossom copycat
1 Vidalia Onion
Cut off the top and leave 1/4 inch at the bottom. Peel. 
Then slice into the cut off top like a pie into like 12 sections. 
Put in ice water for 1/2 hour to get it to "bloom"
Pat dry. Then dust with flour mixture and then dip into the buttermilk mixture and again into flour mixture. This is where mine fell apart. So be gentle. Then I would put it into a small deep fryer WITH A BASKET! 

We used to have a Fry Daddy or Fry Baby. Those would work for your onion. Frying pans are not deep enough. That was my problem. Anyway fry that baby up and then lay on paper towels. 
But the rings are just foolproof and delicious and easy.

 My hubs snapped this pic of me as we were both chowing down on these yummy onion rings. See my
greasy fingers? Yeah, you can't make these too often if you don't want to have a heart attack!
But once in awhile is ok. So I'm sticking with them. In fact, I feel a craving coming on right now. Yummy. 


It really tasted fantastic. So I decided after two tries, that I give up on the BLOOMIN' ONION delicacy. I will just have to do it making only onion rings. They are easy. Just slice, dip and fry, eat and enjoy. Life is too short  Bloomin' Onion.


LinkWithin

Related Posts Plugin for WordPress, Blogger...